Securely support the car on jack stands and remove the old drum.
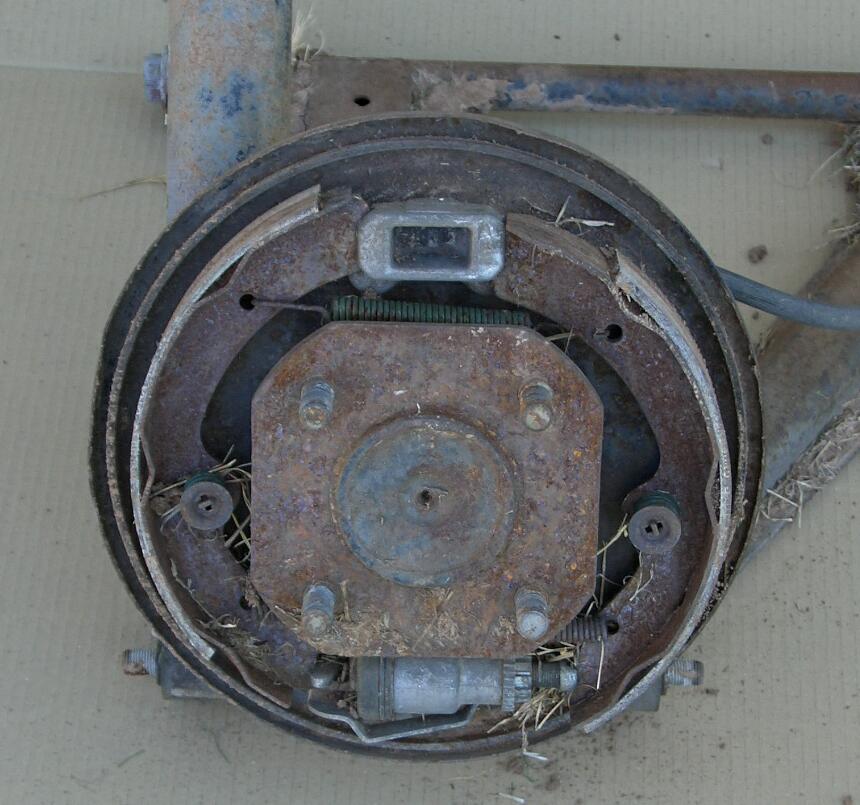
Here's the lovely stock brakes
with the drum removed.
 After the half-shaft is unbolted use a 27mm socket to remove the stub-axle
retaining nut, be sure to unbend the "ears" on the nut so it comes off
without destroying the threads on the stub axle. You can then pull the
stub axle out with a slide hammer as shown or better yet use a hydraulic
press if you have the whole assembly off the car.
After the half-shaft is unbolted use a 27mm socket to remove the stub-axle
retaining nut, be sure to unbend the "ears" on the nut so it comes off
without destroying the threads on the stub axle. You can then pull the
stub axle out with a slide hammer as shown or better yet use a hydraulic
press if you have the whole assembly off the car.
Unbolt and discard the old backing plate.
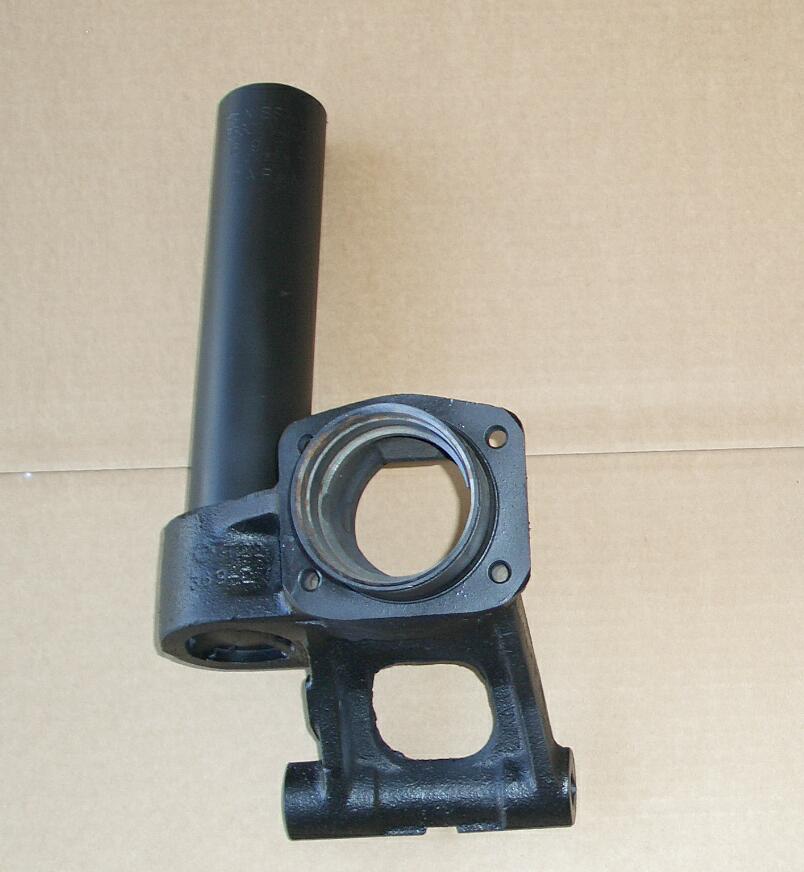 here
everything has been disassembled and prepped for rebuilding, the strut
tube has been cut off of this strut for installation of our coil-over kit.
here
everything has been disassembled and prepped for rebuilding, the strut
tube has been cut off of this strut for installation of our coil-over kit.
It's not necessary to remove
the entire strut assembly from the car to do the install but it's easier
to work on and I like to start fresh with a bare strut housing.
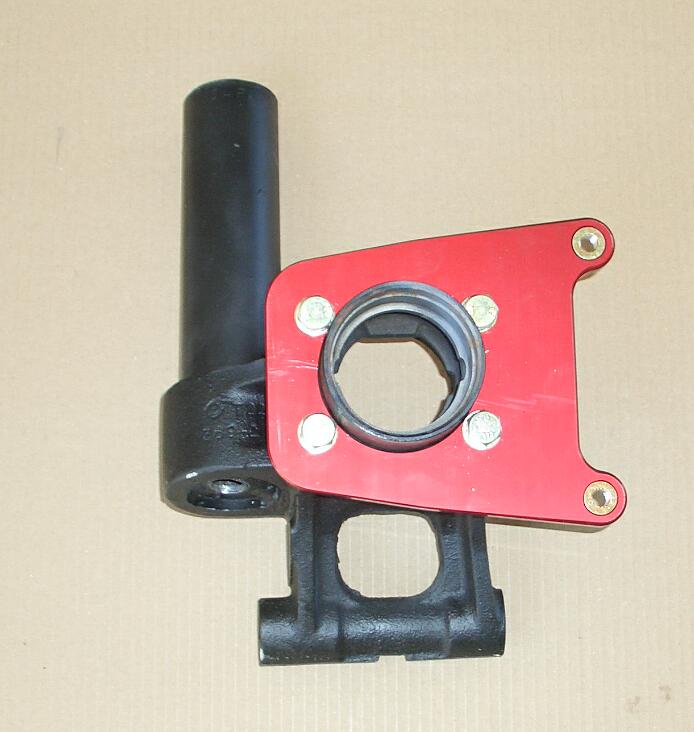
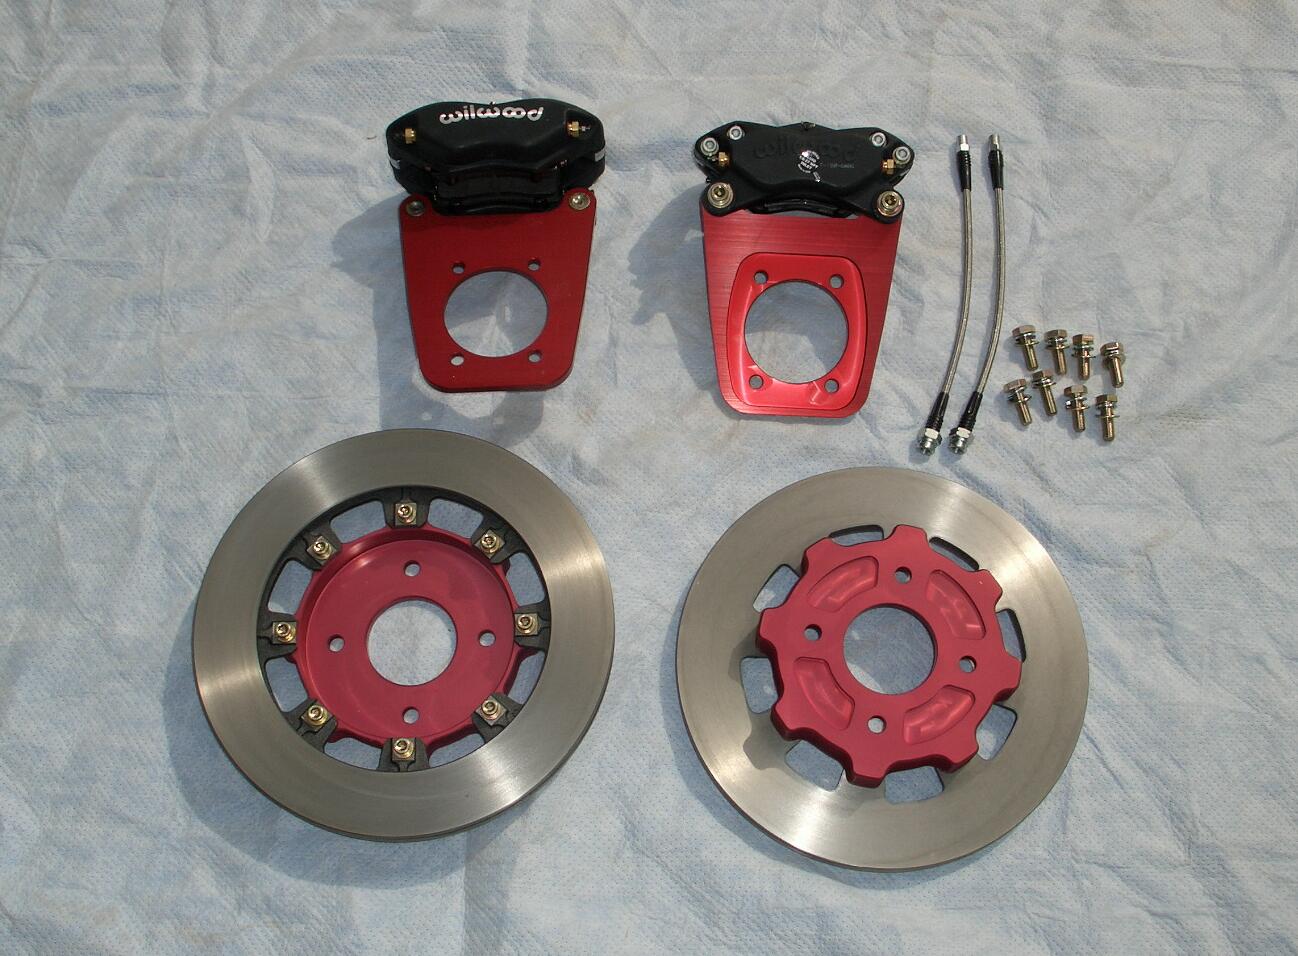
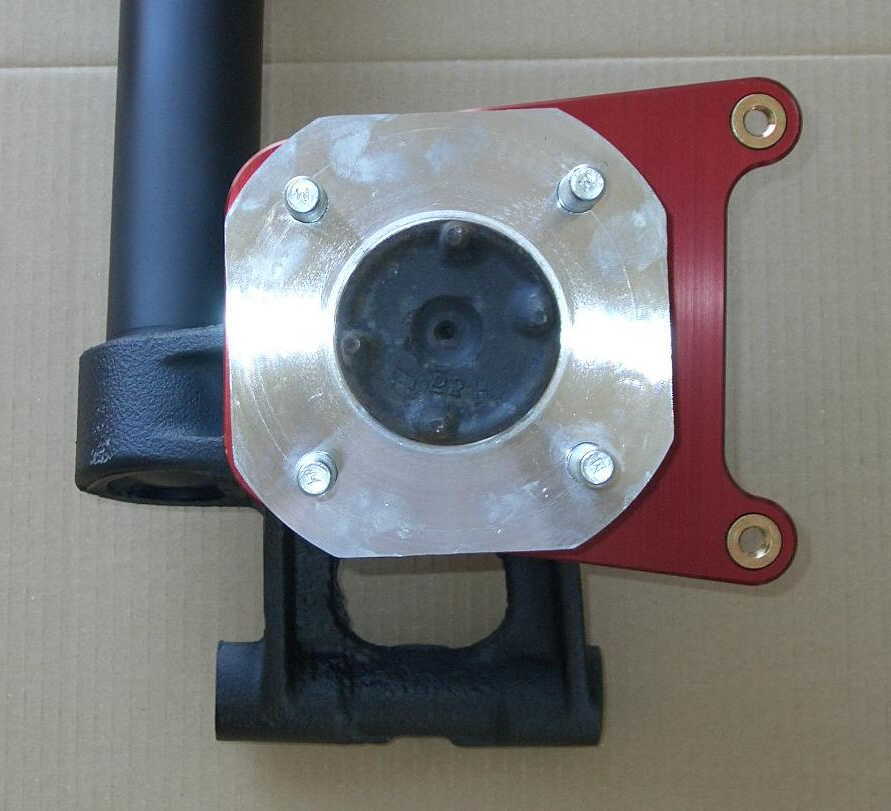
Install the caliper bracket
as shown (the recessed area goes against the mounting surface) with the
supplied 10mm x 25mm long bolts & washers.
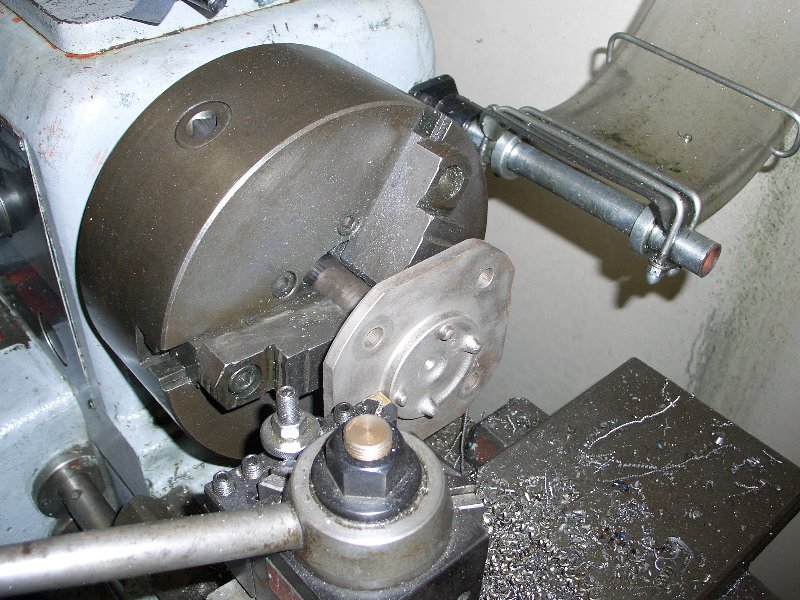
Check the stub axle for run-out and straighten in a lathe if needed before reinstalling , I also always use a 20mm X 1.5 die to chase the threads so the axle nut goes on properly.
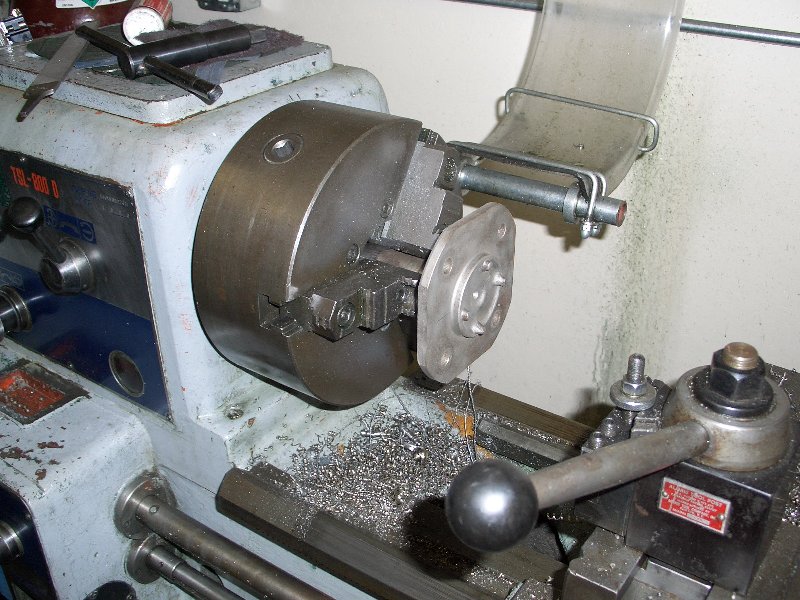 Checking
the stub axles for run-out and refaceing them isn't required, but why cut
corners and wind up with wobbly rotors and wheels.
Checking
the stub axles for run-out and refaceing them isn't required, but why cut
corners and wind up with wobbly rotors and wheels.
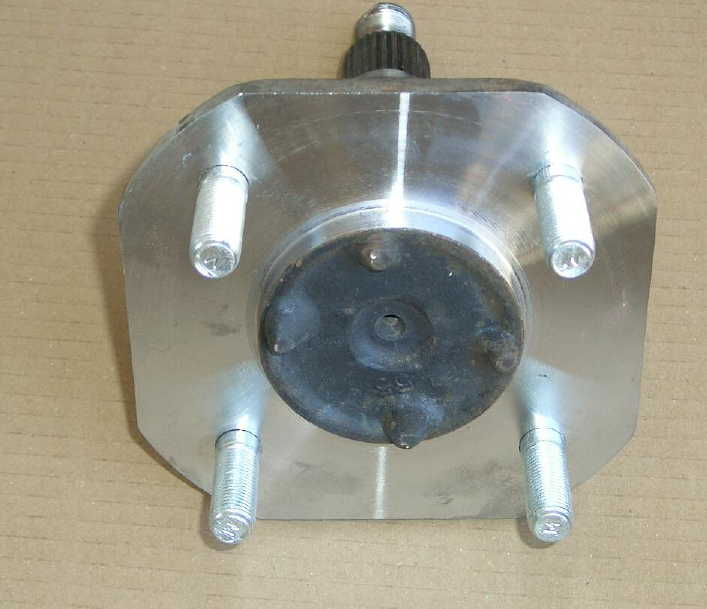 The
stub axles look really nice after resurfacing!
The
stub axles look really nice after resurfacing!
Now's a good time to press
in new wheels studs.
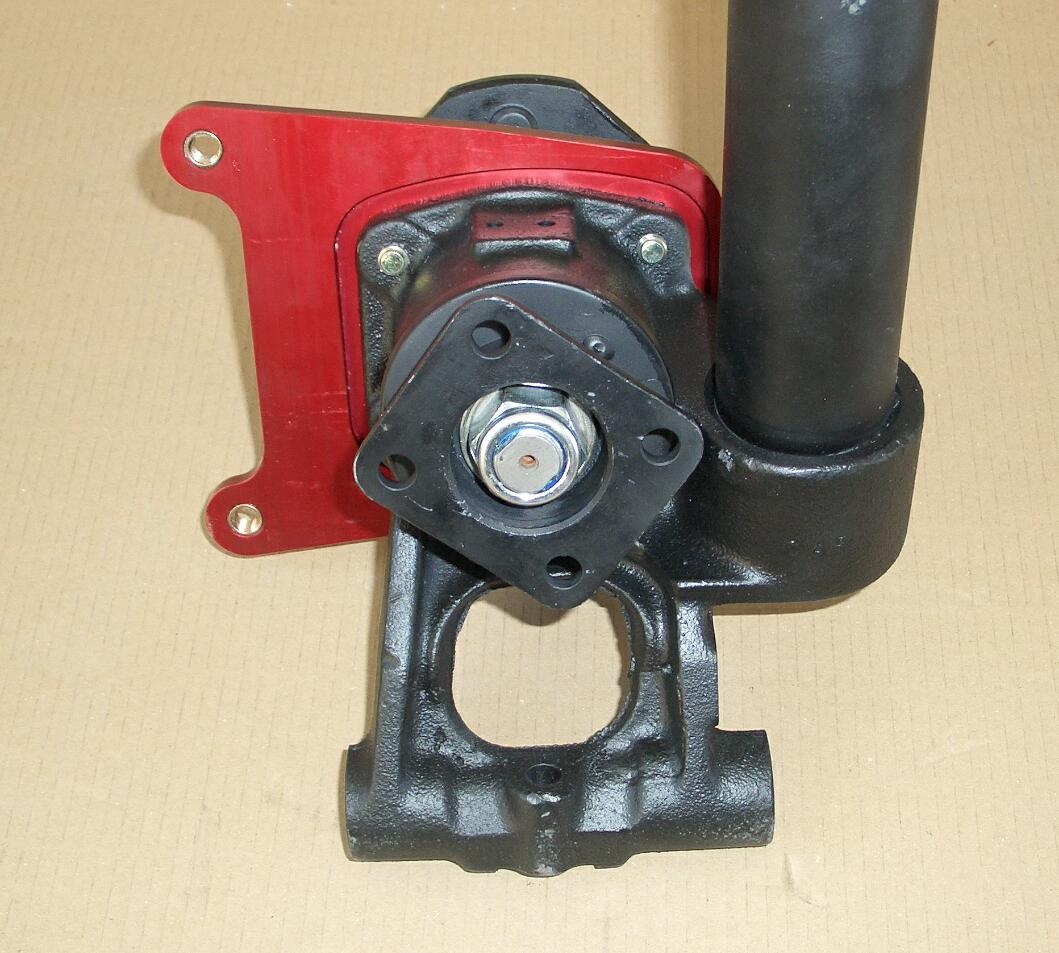
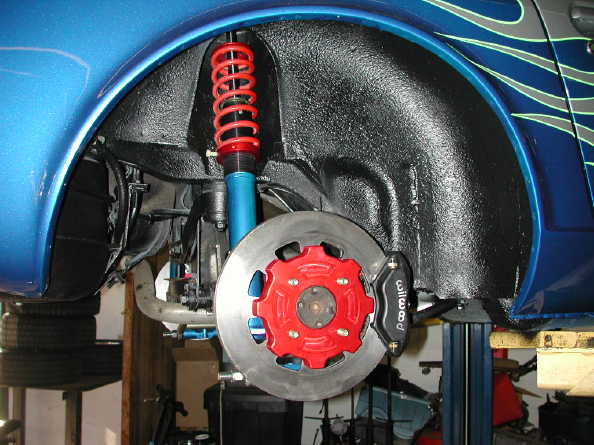
Here we have re-installed the stub axle, I always use new wheel bearings, seals, and locknut.
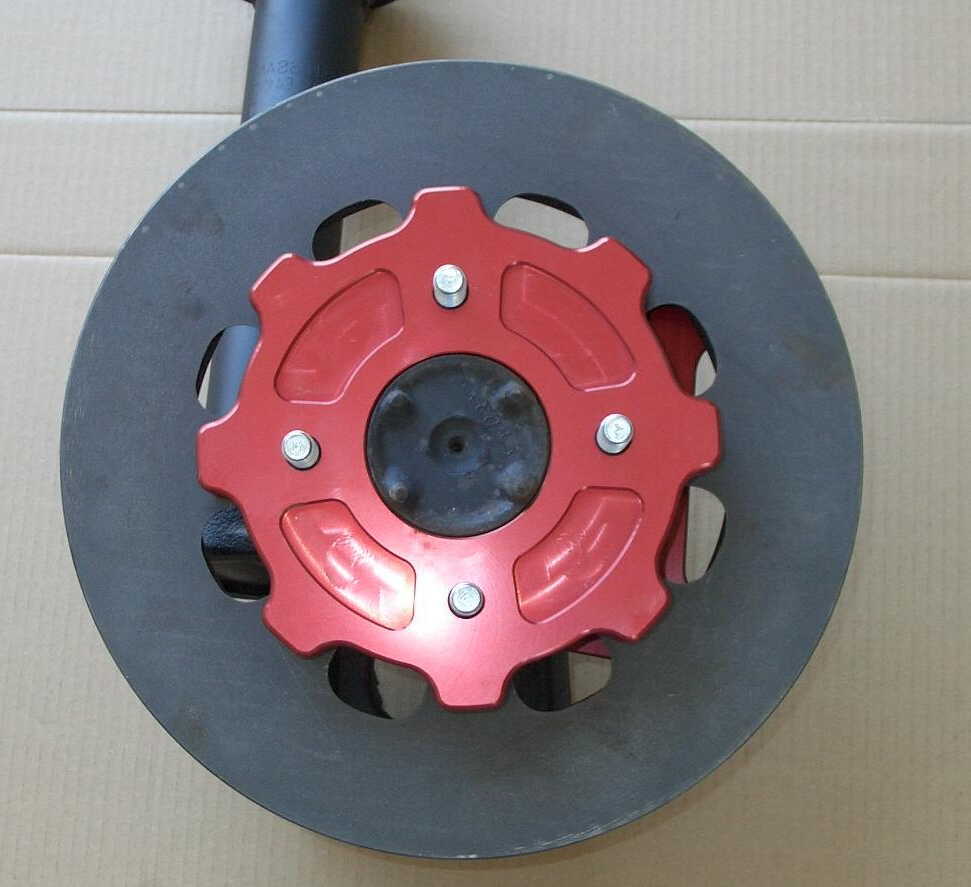
The rotor assembly drops right into place over the axle , use a couple of lug nuts to temporarily hold it in place.
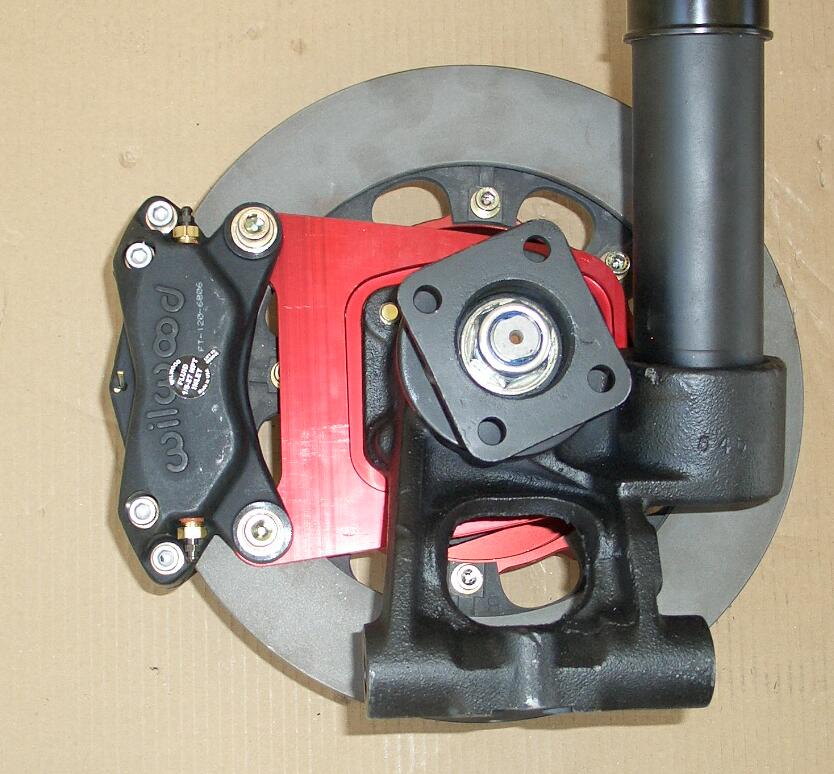
Bolt the caliper to the new bracket using the supplied hardware, extra washers are included and may be used between caliper and the bracket to center the caliper with respect to the rotor. If the extra washers are not required install them under the head of the bolt so the threads don't stick out too far and contact the rotor.
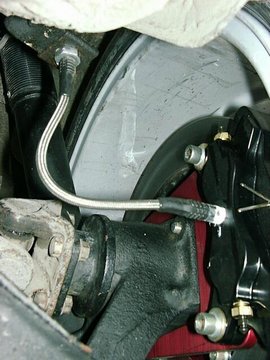
Use the supplied braided steel
brake line to connect the caliper to the factory brake line.
Screw the end with the small
fitting (1/8 NPT) into the caliper first, then screw the end with the larger
metric fitting onto the end of the factory hard-line as shown.
Check the rotor for run-out,
if there is any significant amount the rotor
may need to be turned on a brake
lathe (only take off the absolute minimum) .
Use of the master cyl. for 1979-1981
280ZX is highly recommended as it has a slightly
bigger bore and larger reservoirs
, and it will bolt onto the stock Z power brake booster.
Do a thorough job of bleeding
, a little bit of air in the system will really hurt the pedal
feel and braking performance.
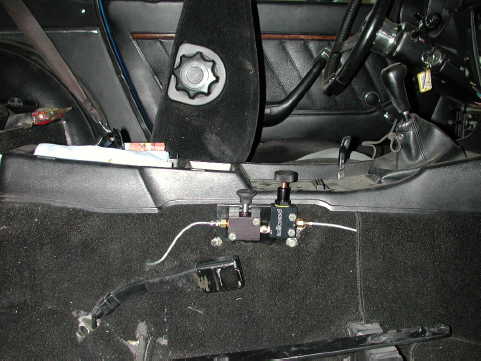
Be sure to use one of our cockpit
adjustable proportioning valves to set the brake bias.
Here's a typical installation
of the adjustable proportioning valve along with the hydraulic line lock
for the parking brake function. The stock proportioning valve has been
retained and the rear brake line has been brought from it along side the
trans tunnel to the new valves and then out through the floor to the splitter
over differential.